How To Sample In Logic Pro X 4 Tips To Get Started
Hit Command + N or choose “New” from the File menu, and also you’re on your method to beginning a new project. Next, dive into the settings in Logic Pro X. Configure your audio settings, regulate your workspace, and set up your MIDI gadgets. Start by allocating as many resources as you can to your digital machine. Logic Pro X is a beast, and it’s going to need all the ability it can get.

It’s als essentia to notice that MIDI tracks in Logic Pro X are intrinsically linked with softwar devices. This is the place all of your audio tracks, MIDI tracks, and softwar instrument tracks reside. It’s not simply one other music manufacturing devic, it’s a complete digital audio workstation that’s designed to cater to all you musical wants. If you’re ready t take your music manufacturing expertis to the following degre to begin creating trul grea music?. Read more about Logic Pro x templates here. Music Production In Logic Pro X with ROB MAYZES is a course that wil take you thru every thin you want t find out abou growing mor professional-sounding mixes. There are a number of way to go about beginning a project in Logic Pro.
I recommend reading via this guide totally if you’re a whole beginner. If you may have some expertise using Logic, this post can nonetheless come to your aid to hone your foundational skills in music manufacturing with Logic Pro. Now hover your mouse over the left edge of your mix’s region.
How to Send a Logic Pro X Project
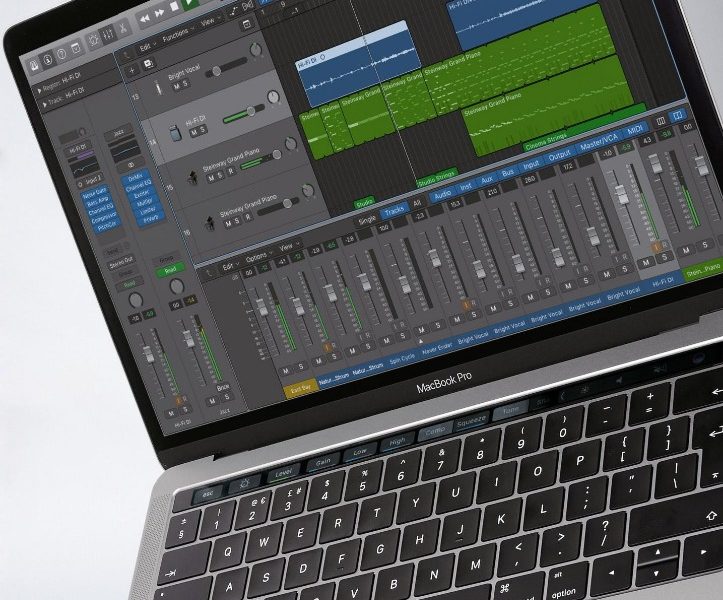
It’s crucial that you get familiar with Logic’s interface, as that’s where you’ll be spending most of your time. But earlier than you hit that ‘Record’ button, it’s important to familiarize yourself with the interface of Logic Pro X, which we’ll break down in the following section.
Step 3: Pick a Sampling Instrument
With your tracks recording enabled you now need to tell Logic to begin recording. Logic customers will not be conscious of the DAW’s versatility in relation to writing to picture. Import your video file by dragging and dropping it into your project, it will automatically create a new monitor. Navigating your project efficiently is essential to a smooth music production process.
This must be as easy as putting in any app on a Mac. Additionally, the “Alchemy” synth plugin permits you to modify the pitch and key of samples additional, making it simpler to harmonize the sample with the project. This is particularly useful if you’re including samples to your project after you may have already established a particular sound.
It’s in this space where you’ll spend most of your time recording, modifying, and arranging your masterpiece. Each monitor in this space has a corresponding channel strip where you can control quantity, pan, and add results. Navigate to the ‘File’ menu, and choose ‘New’ 一 here, you’ll be presented with various project templates. This allows you to hear the audio being performed out of your connected gadget in real-time, which is essential for efficient recording/editing. This step ensures that Logic Pro X makes use of your audio interface for all audio inputs and outputs. From organising your project to exporting your last mix, this Logic Pro X tutorial aims that will assist you unlock your full potential as a digital music producer. Click on the monitor you wish to edit, head over to the “Audio FX” slot within the Inspector, and choose your required plugin from the dropdown menu.
Logic Pro X is a powerful DAW that gives a broad range of options for mixing and audio editing. We will cover subjects similar to establishing your Logic Pro session, configuring your observe layout, and adjusting the software program’s preferences to suit your wants. Another, more skilled way to add MIDI notes in Logic is to make use of the Editor menu.


